
You do not technically have to mount a SimpliSafe Keypad. The keypad is battery powered and can work while sitting on a table, shelf, or counter. But for everyday use, mounting it near the entrance you use most often keeps it easy to reach when you need to arm or disarm the system. Our article cover Simplisafe keypad installation including the set up process.
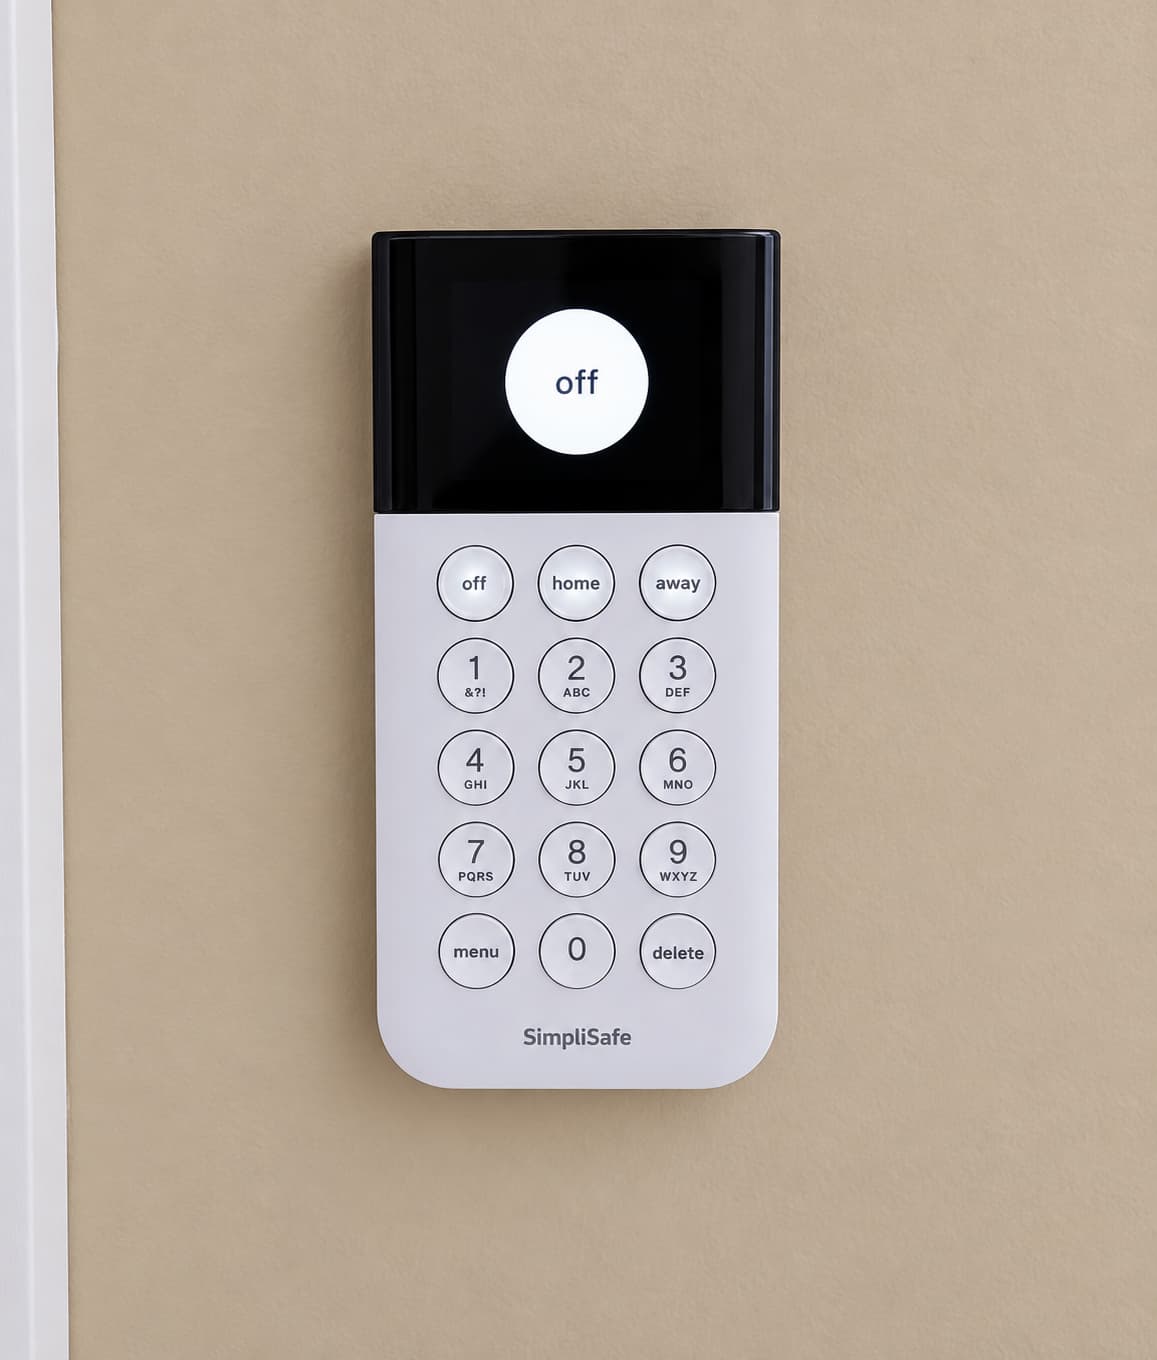
This guide covers where to mount a SimpliSafe Keypad, how to install it with adhesive or screws, how to pair it with the Base Station, how to replace the batteries, and what to do if you want to move the keypad later.
Where Should You Mount a SimpliSafe Keypad?
The best location is usually near a door you regularly use to enter and leave the house.
Good locations include:
- Near the front door.
- Near a door leading from the garage into the house.
- In a hallway close to the main entrance.
- Near another frequently used exterior door.
You want the keypad somewhere convenient enough that you can reach it easily when entering or leaving without having to walk deep into the house.
Avoid placing it where doors, furniture, coats, or other objects will constantly bump it.
Because the keypad is wireless and battery powered, you do not need an electrical outlet nearby.
How the SimpliSafe Keypad Mount Works
The SimpliSafe Keypad uses a separate mounting bracket on the back of the device.
The keypad slides onto the bracket, which allows you to remove the keypad without removing the bracket from the wall.
That is useful for:
- Changing the batteries.
- Moving the keypad temporarily.
- Pairing or troubleshooting the device.
- Switching from adhesive to screw mounting later.
To remove the keypad from the bracket, slide it upward.
The bracket itself can be attached using the supplied adhesive or the included screws.
How to Mount a SimpliSafe Keypad With Adhesive
Adhesive mounting is the quickest option and does not leave screw holes in the wall.
Before installing the keypad, clean the mounting surface with an alcohol-based cleaning solution and allow it to dry completely.
Then:
- Choose the location. Hold the keypad against the wall and make sure the height and position feel comfortable.
- Clean the wall. Remove dust, grease, and residue from the mounting area.
- Let the surface dry. Do not stick the keypad to a damp wall.
- Remove the adhesive backing.
- Position the keypad carefully. Check that it looks straight before pressing it firmly against the wall.
- Press for about 30 seconds. Apply firm, even pressure to establish a good bond.
There is no need to complicate the installation. SimpliSafe’s current instructions simply call for a clean, dry mounting surface followed by firm pressure for about 30 seconds.
When Should You Use Screws Instead?
The included screws are a better choice when you want a more permanent installation or do not trust the wall surface to hold adhesive securely.
Screw mounting makes sense when:
- The wall surface is rough or textured.
- The paint feels loose or questionable.
- The adhesive has already failed once.
- You do not expect to move the keypad.
- You simply prefer a more permanent attachment.
Because the keypad slides off the mounting bracket, screw mounting does not make battery replacement difficult.
How to Mount a SimpliSafe Keypad With Screws
To install the keypad using screws:
- Slide the keypad upward and off the mounting bracket.
- Hold the mounting bracket against the wall where you want the keypad installed.
- Check that the bracket is straight.
- Use a Phillips screwdriver and the included screws to secure the bracket to the wall.
- Slide the keypad back down onto the bracket.
Do not overtighten the screws. The goal is to hold the lightweight mounting bracket securely against the wall, not crush or distort the plastic.
How to Pair the SimpliSafe Keypad
If you are installing a new Gen 3 keypad, pair it with the Base Station through the SimpliSafe mobile app.
- Open the SimpliSafe mobile app.
- Open the three-bar menu in the upper-left corner.
- Select Add Device or Camera.
- Choose Keypad from the device list.
- Follow the prompts and remove the keypad battery tab when the app tells you to.
The Base Station should confirm that the keypad has been added successfully.
If the battery tab was removed too early and the keypad does not pair correctly, SimpliSafe recommends removing one battery for about 90 seconds, reinstalling it, and trying the pairing process again.
Can You Use More Than One SimpliSafe Keypad?
Yes. An additional keypad can be useful if you regularly enter the house through more than one location.
For example, one keypad might be mounted near the front door while another is placed near the door from the garage. This can also be useful in a larger home where walking to a single keypad is inconvenient.
If you want to add another keypad to your existing Gen 3 system, a standalone SimpliSafe Keypad is the simplest option.
If you are setting up an entirely separate SimpliSafe system at another property, that is a different setup. See our guide to using SimpliSafe for multiple homes for adding a second location under the same account.
Replacing the SimpliSafe Keypad Adhesive
If you move the keypad or the original adhesive loses its grip, use fresh adhesive rather than trying to reuse an old strip.
Clean both the mounting bracket and wall surface before installing new adhesive.
Replacement 3M Command-style adhesive strips are an easy option because they allow you to remount the bracket without drilling holes.
Make sure the replacement strip does not interfere with the keypad sliding on and off the mounting bracket.
What About 3M VHB Tape?
VHB tape can hold extremely well, but I would not use it for a normal SimpliSafe Keypad installation.
Its strong bond makes later removal much more difficult and increases the chance of pulling paint or damaging the wall.
The standard adhesive or included screws are better choices for most homes.
If you expect to sell the house, repaint the room, or move the keypad later, VHB tape creates more problems than it solves.
How to Remove the SimpliSafe Keypad From the Wall
If you only need to access the batteries, do not remove the mounting bracket.
Slide the keypad upward to separate it from the bracket.
If you are relocating the entire keypad, remove the keypad first and then deal with the mounting bracket separately.
For an adhesive-mounted bracket, work slowly rather than pulling the bracket directly away from the wall. This reduces the chance of damaging the paint.
For screw-mounted installations, remove the keypad from the bracket first and then unscrew the bracket from the wall.
What Batteries Does the SimpliSafe Keypad Use?
The current Gen 3 SimpliSafe Keypad uses four AA alkaline batteries.
SimpliSafe lists expected battery life at approximately 8 to 12 months, depending on placement and use.
To replace the batteries:
- Slide the keypad upward and off the wall bracket.
- Remove the old AA batteries.
- Wait at least three minutes.
- Install four new standard AA alkaline batteries.
- Slide the keypad back onto the mounting bracket.
SimpliSafe recommends standard alkaline batteries rather than rechargeable AA batteries for the keypad.
If battery life is much shorter than expected, the keypad also has a power-saving setting that can disable the proximity sensor responsible for lighting the keypad when someone approaches.
Common SimpliSafe Keypad Mounting Mistakes
Mounting it too far from the entrance. The keypad is much more convenient when it is near a door you use regularly.
Skipping surface preparation. Adhesive will not hold as well on dusty, greasy, or damp surfaces.
Mounting before checking the height. Hold the keypad in place first and make sure everyone can comfortably reach it.
Reusing old adhesive. Use fresh adhesive when relocating the bracket.
Using overly aggressive tape. Strong permanent tape can make future removal unnecessarily difficult.
Removing the whole bracket to change batteries. The keypad simply slides off the bracket.
Removing the battery tab before the app tells you to. During a new keypad installation, follow the pairing prompts in the SimpliSafe app.
Frequently Asked Questions About Simplisafe Keypad Installation
Does the SimpliSafe Keypad have to be mounted?
No. The keypad is wireless and battery powered, so it can operate without being attached to the wall. Wall mounting simply makes it easier to find and use consistently.
Can I mount a SimpliSafe Keypad without drilling?
Yes. The keypad is designed to be mounted using adhesive, so drilling is optional.
Can I screw a SimpliSafe Keypad to the wall?
Yes. The mounting bracket can be secured using the included screws.
How do I take the SimpliSafe Keypad off the wall?
Slide the keypad upward to remove it from the mounting bracket.
What batteries does a SimpliSafe Keypad use?
The current Gen 3 keypad uses four AA alkaline batteries.
How long do SimpliSafe Keypad batteries last?
SimpliSafe lists expected battery life at approximately 8 to 12 months depending on placement and usage.
Can I have more than one SimpliSafe Keypad?
Yes. Additional keypads can be added to a SimpliSafe system if you want controls near more than one entrance.
Other SimpliSafe Guides
- SimpliSafe SimpliCam Mounting Options
- How to Mount a SimpliSafe Entry Sensor
- How to Remove a SimpliSafe Entry Sensor
- How to Mount Ring or SimpliSafe Sensors on a Door Frame
- How to Use SimpliSafe for Multiple Homes
Final Thoughts
Mounting a SimpliSafe Keypad is simple because there are no wires or electrical connections to deal with.
For most homes, place the keypad near an entrance you use frequently, clean the wall thoroughly, and use the supplied adhesive for a quick no-drill installation.
If you want something more permanent or do not trust the wall surface, use the included screws instead.
Either way, remember that the keypad slides off its mounting bracket. You should not need to disturb the wall mount when replacing batteries or accessing the back of the device.